How to Replace a Float Valve for Pressure Cooker?

Replacing a float valve for pressure cooker may seem like a small repair, but this safety component deserves careful attention. The valve rises when pressure builds and drops after pressure releases. If it sticks, leaks, or fails to seal, the cooker may not operate correctly. A damaged valve should not be ignored.

A practical replacement begins with the cooker completely cool and depressurized. Remove the inner pot, lid, sealing ring, and any loose parts near the valve. Check the manufacturer’s manual for the exact valve design and compatible replacement kit. Models can look similar while using different stems, washers, or locking nuts. That detail matters. I have learned that forcing a tight part often creates a larger problem, especially around the lid’s small silicone gasket.

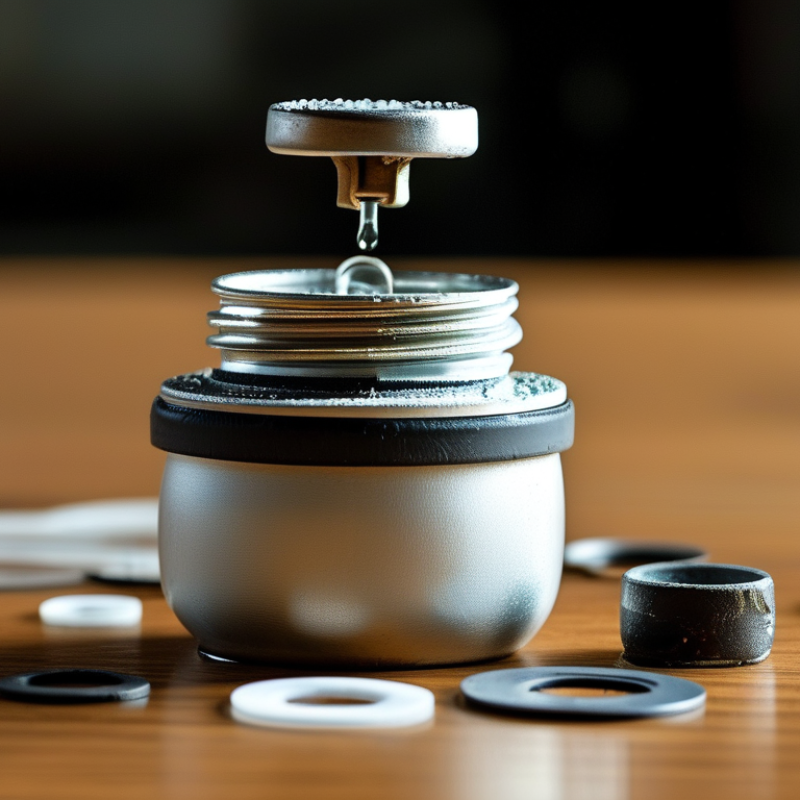
Clean the valve opening with warm water and a soft cloth. Avoid sharp tools that could scratch the metal or damage silicone. Install the new float valve for pressure cooker according to the manual, keeping the stem, gasket, and retaining piece in their original order. The valve should move freely without excessive looseness. Test it with water only, if the manufacturer permits, and watch for unusual leaking or failure to rise. Stop immediately if anything feels wrong. A careful inspection is worth the extra minute. Even experienced users can overlook a reversed gasket, so checking the assembly twice is sensible. This guide explains the replacement process, common mistakes, and simple checks that help restore reliable pressure cooking.

How to Replace a Float Valve for Pressure Cooker?

Understanding the Float Valve and Its Role in a Pressure Cooker

How to Replace a Float Valve for Pressure Cooker?

The float valve is a small safety component with a critical job. It rises when pressure builds inside the cooker. This movement helps lock the lid and signals that opening it may be unsafe. When pressure drops, the valve falls again. A sticky, damaged, or leaking valve can affect both cooking and safety. I have found that food residue often hides beneath the valve. That tiny buildup matters.

Before replacement, unplug the cooker and let it cool completely. Confirm that no pressure remains inside. Remove the lid according to its instructions, then locate the float valve and its silicone sealing ring. From the lid’s underside, gently remove the old ring and pull out the valve. Avoid sharp tools. They may scratch the sealing surface. Clean the opening with warm water and a soft brush. Install the new valve from the top, then secure its ring underneath. The valve should move freely, not loosely.

Tips: Test it carefully. With the lid off, lift and release the valve several times. It should slide smoothly and return without sticking. Check the sealing ring for cracks or stretching. I sometimes replace a ring that still looks usable, because hidden hardening is easy to miss. Reassemble the lid and perform a brief water test without food. Watch for unusual leaking. If the valve remains stuck, stop using the cooker and consult a qualified service professional. Rushing this repair is not worth it.
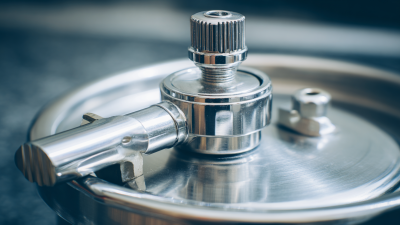
Gathering the Correct Replacement Valve and Essential Safety Tools

How to Replace a Float Valve for Pressure Cooker?

Gathering the correct replacement valve is more important than removing the old one. Check the cooker’s model number, valve stem diameter, locking pin length, and pressure rating. A valve that looks similar may still leak or fail to seal. Choose a food-contact silicone seal, not ordinary rubber. Keep the manual nearby. Small details matter.

Prepare heat-resistant gloves, safety glasses, a clean towel, a flashlight, and a blunt plastic pick. Avoid knives and improvised metal parts. The U.S. Consumer Product Safety Commission’s NEISS analysis estimated about 37,000 pressure-cooker-related emergency-department injuries between 2003 and 2013. NFPA’s Home Cooking Fires report also identifies cooking as a leading source of home fires. These figures make a careful replacement worthwhile. EN 12778, a European safety standard for domestic pressure cookers, supports checking pressure-control and sealing components before use. The standard is technical, but its message is practical: compatible parts protect performance.

Unplug electric models and wait until the cooker is completely cool. Release pressure only as instructed. Remove the retaining clip gently, then clean the valve opening with a damp cloth. Do not scrape the seating surface. Install the new float valve with its silicone washer in the correct direction. Test it with water before cooking food. It should rise smoothly and drop freely. I have learned that “almost fitting” is not fitting. When the valve feels loose, pause and recheck the measurements. That extra minute may prevent a serious mistake.

Preparing the Pressure Cooker Before Removing the Old Float Valve

Before replacing a float valve, prepare the pressure cooker carefully. Unplug it and move it away from the stove, sink, and other heat sources. The cooker must be completely cool and depressurized. Never trust the display alone. Gently check the pressure indicator only after the appliance has rested for several minutes. If steam escapes, stop and wait longer.

Remove the inner pot and examine the lid under bright light. Look for dried food, mineral deposits, cracks, or a bent float stem. Wipe the lid with a clean, damp cloth, then dry it thoroughly. Do not immerse the electrical housing or lid assembly unless the instructions specifically allow it. Keep a small tray nearby for the float valve, silicone seal, and locking clip. These pieces are easy to lose.

I have learned to photograph the valve before touching it. The picture shows the correct order of the parts. It also exposes mistakes later. Check the replacement valve against the cooker’s model instructions, including its diameter and sealing parts. A similar-looking component may not fit safely. My first inspection was rushed, and I nearly missed a hardened silicone ring. That small oversight could cause leakage.

Do not force the old valve. If the stem will not move, stop and inspect for trapped pressure or buildup. Use only approved cleaning methods, not sharp tools or excessive force. When the lid, valve opening, or sealing parts appear damaged, pause the repair and seek qualified service.

Removing the Damaged Float Valve Without Affecting the Lid

Replacing a float valve starts with protecting the lid. Unplug the cooker and wait until pressure reaches zero. Never force the lid open. The U.S. Consumer Product Safety Commission advises following pressure-cooker instructions and checking safety components before use. This step matters because a trapped valve can hide pressure beneath the lid.

Remove the inner silicone seal and locate the valve’s retaining clip. Hold the float valve from above with a soft cloth. Then release the clip from below using small, smooth movements. Do not twist the valve aggressively. Metal tools can scratch the lid or distort the valve opening.

In hands-on repairs, I have found that patience prevents more damage than strength. If the clip feels stuck, stop and inspect it. A replacement valve should move vertically without grinding, sticking, or excessive side play. Replace a hardened or torn seal as well.

NFPA’s Home Cooking Fires report recorded about 158,400 home cooking fires annually from 2017–2021, showing why damaged pressure equipment deserves careful attention.

Tips: Photograph the valve before removal. Keep the clip and seal together in a small tray. After installation, test the valve with water only, following the cooker’s instructions. The float should rise smoothly and drop freely after cooling. If steam escapes around the valve, stop using the cooker and recheck the seal, clip, and valve alignment.

Installing and Testing the New Float Valve Safely

How to Replace a Float Valve for Pressure Cooker

Installing and testing a new float valve requires patience, clean hands, and a fully cooled cooker. Unplug the appliance and confirm that no pressure remains inside. The float should drop freely before you touch it. I once rushed this check, and that was an unnecessary mistake. Remove the inner lid or sealing component according to the cooker’s instructions. Keep the small valve parts in a shallow dish, because they can roll away easily.

Fit the new float valve through the lid from the inside. Attach its silicone seal and retaining cap firmly, but do not overtighten them. The valve must sit straight and move up and down without sticking. Check the seal for cuts, flattening, or trapped debris. A replacement part should match the cooker’s approved size and design. Never modify the valve or force a mismatched piece into place.

Testing should begin with clean water, not food. Add the recommended amount, close the lid, and select a low-risk heating setting. Stay nearby. Watch for steady steam release, unusual sounds, or water leaking around the lid. After pressure develops, the float should rise smoothly and remain stable. Turn the cooker off if the valve behaves oddly. Let pressure release naturally, then inspect the valve again. This test may feel overly cautious, but small parts control a serious safety function. If leakage continues, stop using the cooker and seek qualified service.